Thursday, September 23, 2021

A Few New Fabrics

 Category 2 - casual life outside the house. I haven't done an inventory, but this is probably the largest category of clothing I have. Clothes that look good, feel good and work for many situations -- casual dining, museum visits, movies, brewery or vineyard tastings -- all the things put on hold for so long. Since most items here haven't seen much wear lately, I really don't see a pressing need to replace anything. I did purchase a navy sweater blazer on sale as it seems like a versatile third layer.  I'll make a few new things -- just for fun and a little mood brightening -- and because I keep buying fabric.

I found an interesting ponte at Stylemaker Fabrics:  


It has a napped, almost wooly feeling outer layer and a tweedy reverse side. It would make a nice jacket, using the reverse side as a contrast. I made pants however (Style Arc Barb), so only used the herringbone side. Love the way they feel and I hope they won't be prone to pilling due to the texture. I got the black/grey colorway -- they may still have the black/white and black/burgundy options.


Also from Stylemaker Fabrics -- how about an animal print French terry?  Love that it's grey (and not brown tones) -- at the time I bought it a couple of weeks ago they also had it in two other background colors.

The version I chose was the Cozy Animal Spot French terry cream/grey.

My original thought was to use it for Simplicity 9275, but when it arrived I felt it was just too drapy for that style. Instead I'll happily use it for a cozy cowl neck, or perhaps Style Arc Verity Knit top.

Since my autumn/winter neutral colors are black, grey and navy these two fabrics will work with many items already in the wardrobe.


I also picked up a navy/grey stripe shirting fabric (100% cotton) from Fabric Mart and will make a long-sleeved shirt from that. The stripes are not evenly spaced, so that should provide an opportunity for some creative pattern placement. 


So, a few new things to brighten up the wardrobe, but no real needs. I should have plenty of time to devote to sewing for my last category -- at home wear. This is an area that really could use a large dose of style -- am I up to the challenge?


Tuesday, September 14, 2021

Planning takes a detour

Planning continues, but now with serious intent. Instead of just pairing up fabrics/patterns I want to answer: "What do I already have, and what do I need for the life I actually lead?"

In these uncertain times, I've narrowed my needs down to 3 categories: 1) life at home 2) casual life outside the house and 3) business suitable. At present there seems to be no need for formal party attire -- should it arise it would most likely be dealt with by a RTW purchase.

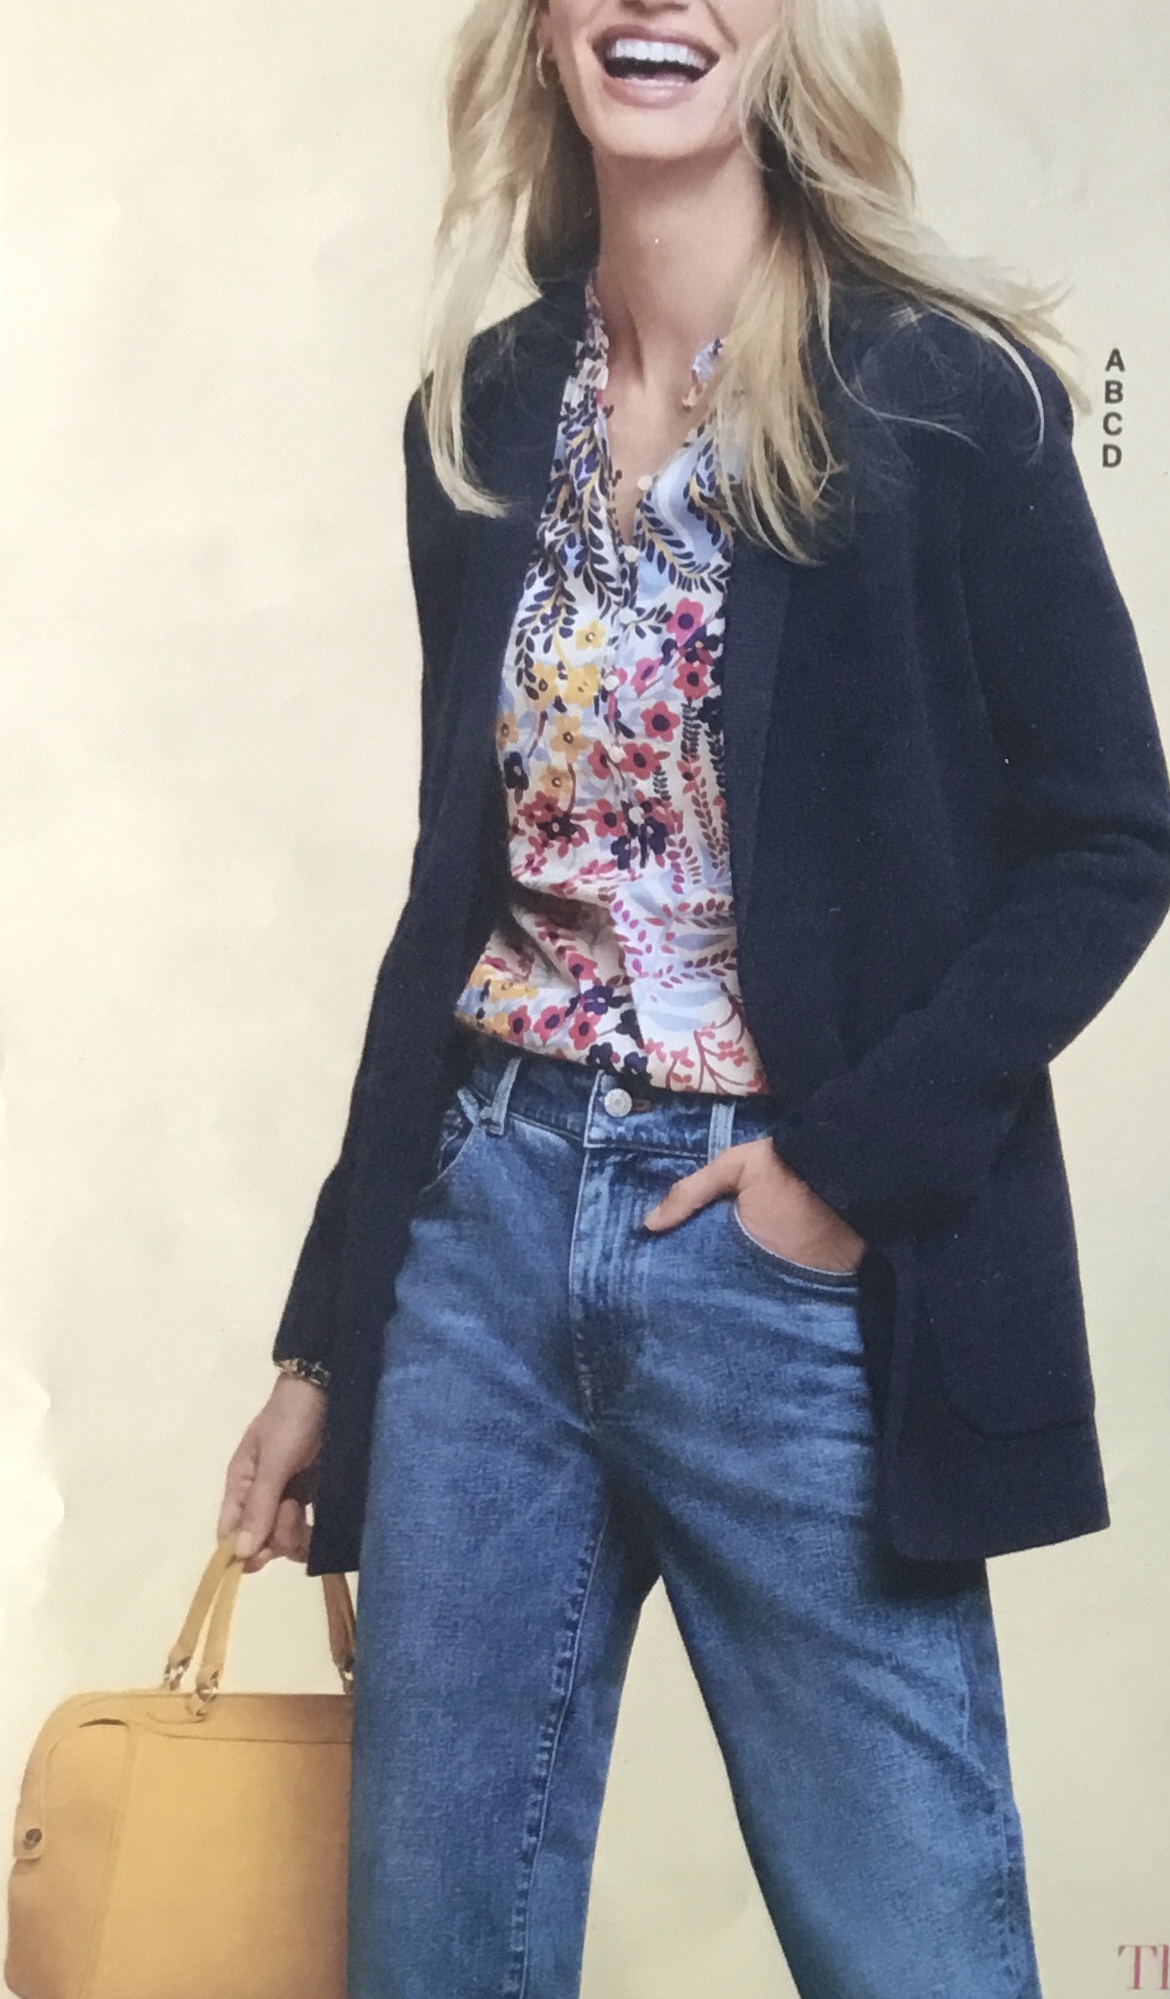
I start with the smallest category - 3) business suitable.  I am a woman of retirement age, so no need for a daily professional wardrobe. However, at times I find myself in settings where I am more comfortable looking more pulled together than usual. A classic blazer would work well for this, but I don't find the look to be that flattering to my shape. A tailored pant suit is taking 'business' a step too far. Instead, I've gone with a RTW sweater jacket in a black/white check. The knit fabric softens the look, but still gives a more polished third layer.  I recently received a 'you haven't shopped with us lately' offer from Talbots, which combined with a sale and a free shipping offer, offered up this merino sweater jacket at a very nice price. 


Black slacks and a white, jewel-neck top will be the other 2 components of this look.Those will be sewn by me. 
I have a nice black knit from Gorgeous Fabrics, (Italian viscose doubleknit) for the slacks. My go to pattern is Style Arc Barb, but SA Linda would work too.
For the top I’ll go with a fine gauge merino jersey. I hope to be able to get this fromThe Fabric Store in NZ. Pandemic lockdowns appear to be affecting their shipping of some items at the moment, so we’ll see how that goes.
I’ll use my TNT top pattern from Pamela’s Patterns - The Perfect T-Shirt, altered to have a slightly raised neckline, long sleeves and a straightened hem.

So, two easily sewn and already fitted patterns to complete Category 3. Should be very do-able. 

Next time: Category 2) Casual life outside the house. Here’s hoping there will actually be a need for this grouping in the coming months.


Tuesday, September 7, 2021

Planning for autumn


I’m not entirely sure that it pays to make many wardrobe plans this season. The resurgent virus makes it unlikely we’ll be doing much more than last year it seems. Ah well, might as well plan for a mostly home-based lifestyle I suppose.


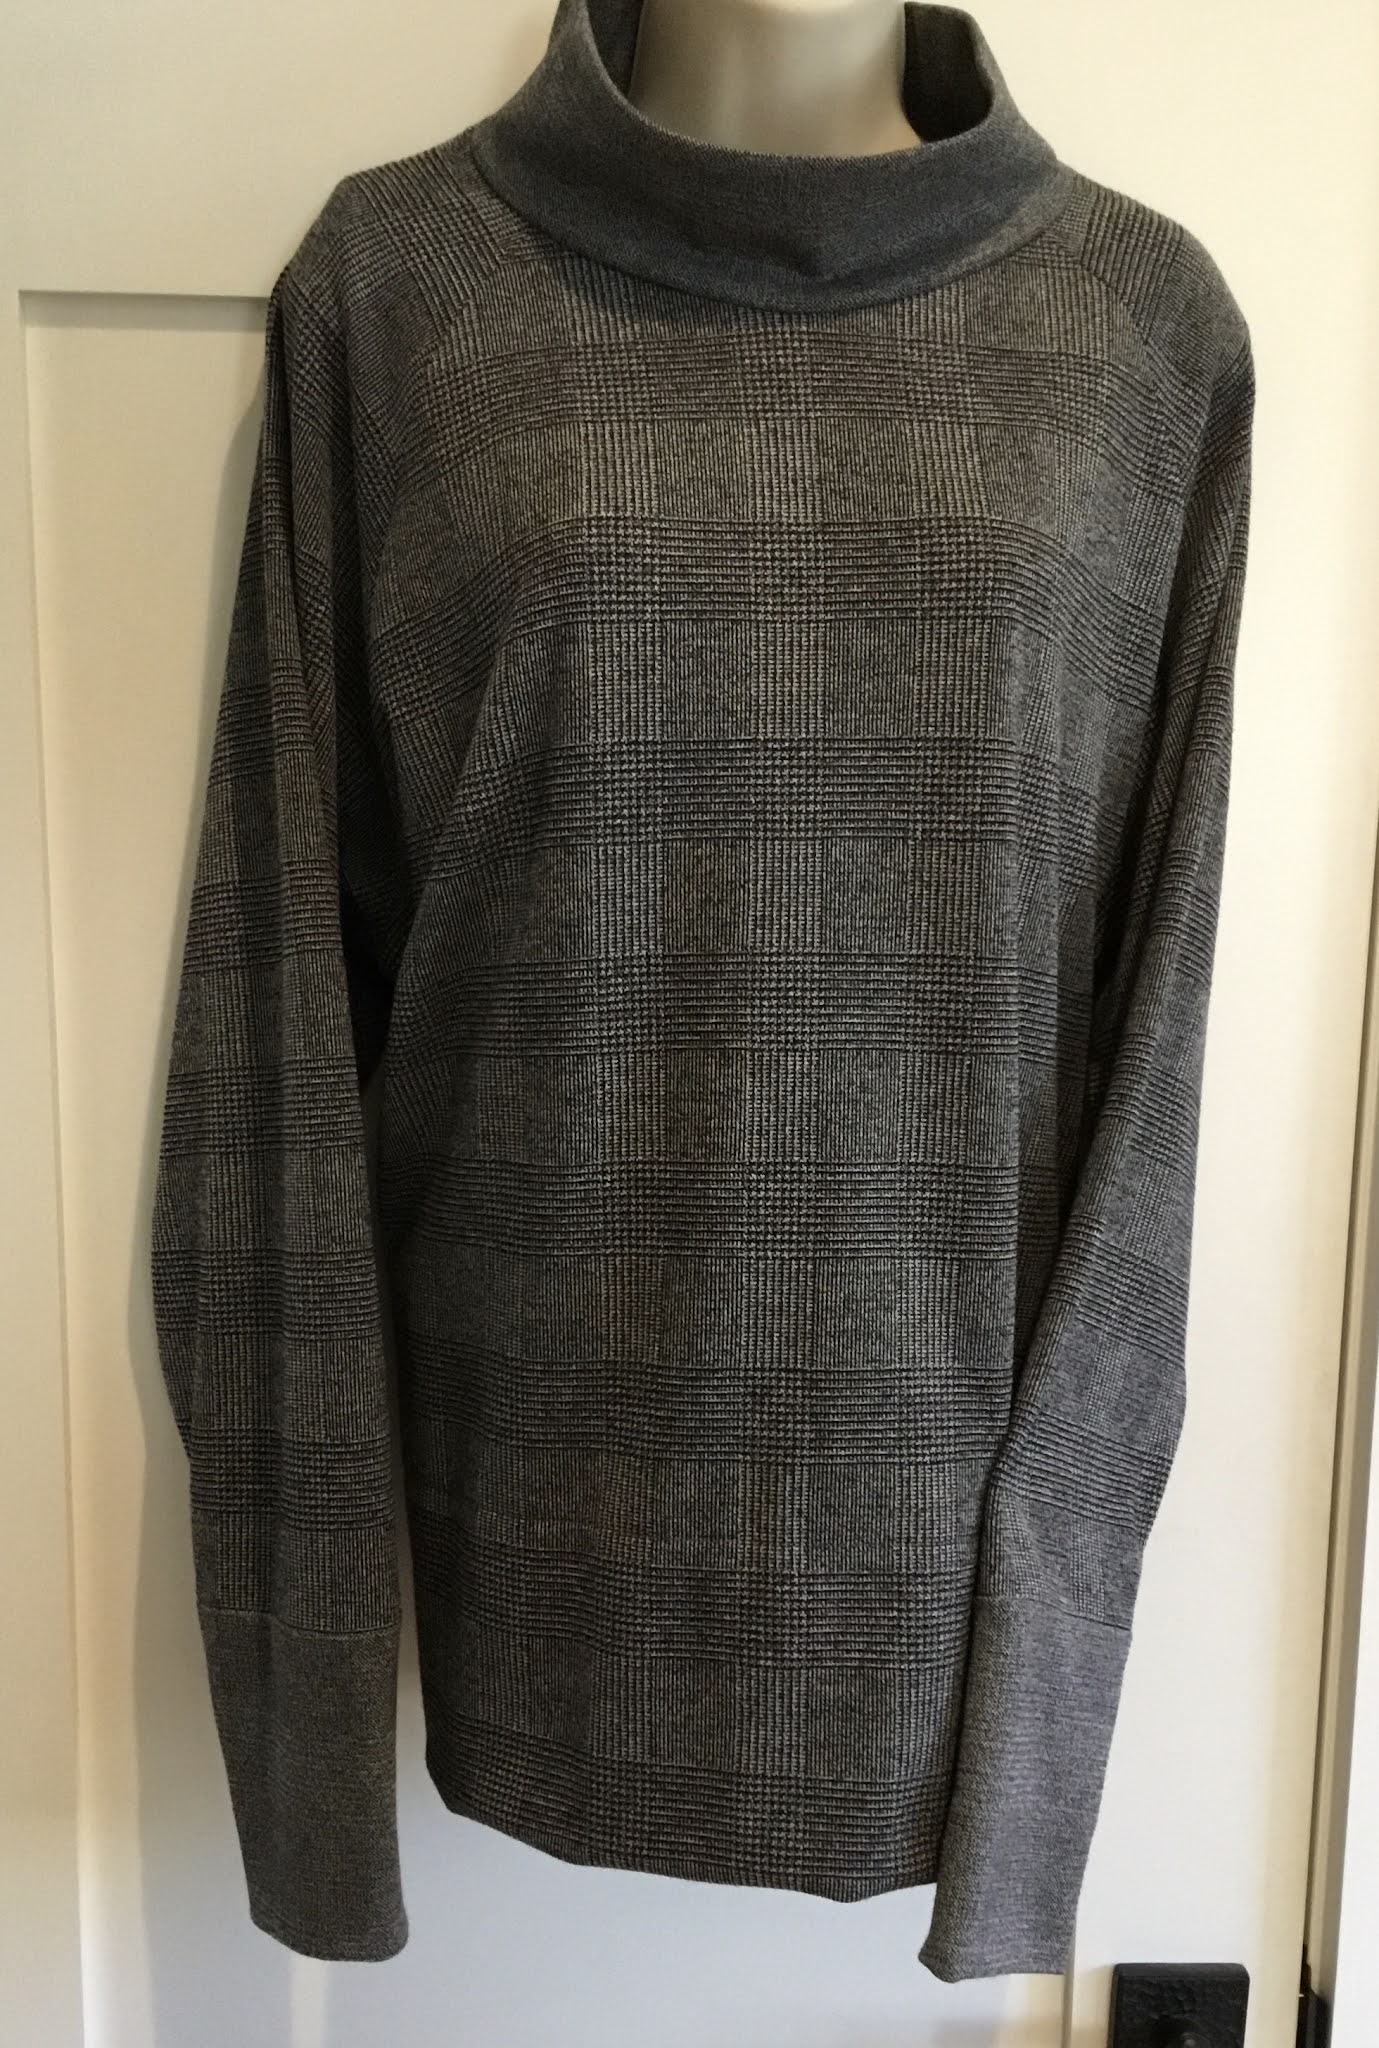
My first garment for the cooler weather is yet another Toaster sweater from Sew House 7. It’s a style I find comfortable and suiting my casual life. I shorten the cowl collar a bit, and lengthen the body so the front and back are one piece each instead of them having a deep ‘cuff’. This works for me when sewing with heavier weight fabrics as I don’t have the bulk of an additional seam. Also it’s a blessing when sewing a plaid.

Fabric is a cotton/poly blend from Fabric Mart — probably no longer there though. I used the reverse side for the collar and sleeve cuffs. I love when a fabric has two attractive sides!


Well, it’s a start anyway — now to figure out what’s next. 


Thursday, August 12, 2021

Taking a Beading Break

 After sewing up a bunch of tees and a pair of wide-legged pants (Style Arc Fifi), it seemed time to take a break from clothing and try a beading project.

Most of the things I do with beads are off-loom weaving using Peyote stitch and brick stitch and most of the projects are earrings. Two reasons really -- I wear earrings daily, and an earring project is small and manageable. I have several bracelet bodies laying around, but somehow have never gotten around to actually finishing them up with fasteners. OK, the sensible thing to do would be to finish up one of those, but nope -- I felt the need to start something new.

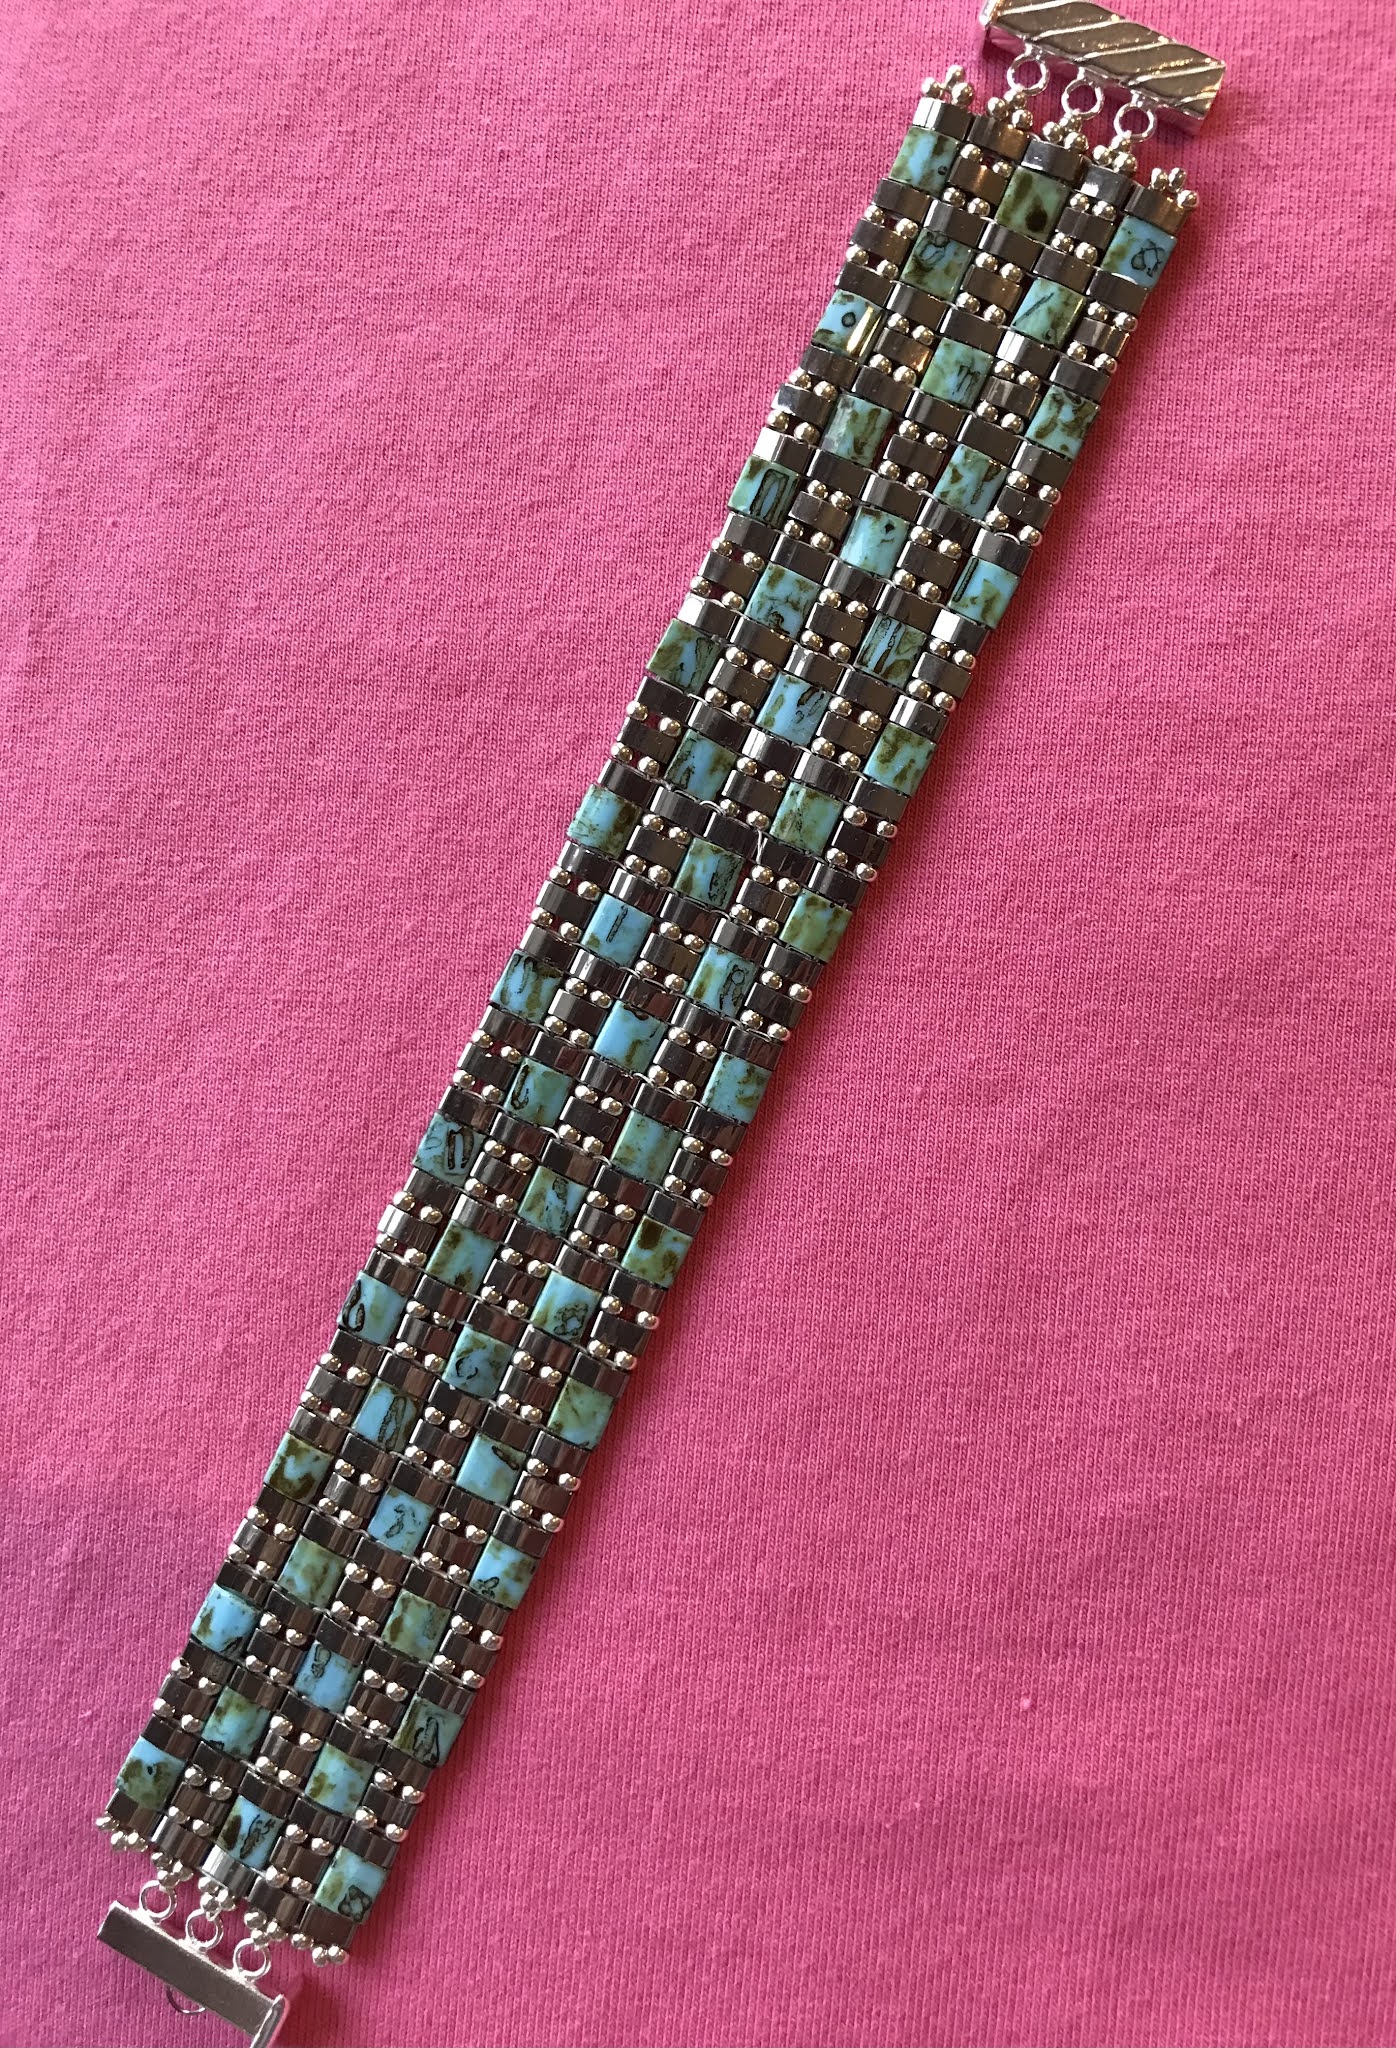
I decided on a design by Deb Roberti -- Parquet Band. It's a modified square stitch pattern using Tila beads by Miyuki. Her instructions are very clear and very beginner friendly. Although I've been playing with beads for a while, I don't do it often enough to have everything be second nature and I really appreciate thorough instructions.

So, my version of Parquet Band:


Monday, July 19, 2021

Fun with a collar frill

My phone has decided to be uncooperative with photos, but let's try this anyway.

Another stash fabric goes under the rotary cutter -- this one a lightweight seersucker. It was originally white with a brown stripe. After a dip in the dyepot (Rit indigo) it is now a color much more flattering to my silver grey locks.

I used my shoulder princess seam shirt block and decided to give it a little lift with a ruffle on the collar stand. I wanted to try something a tiny bit different though, and have the center back of the ruffle be higher than the front edges. Sort of a 'popped' collar look? 


So, I took a collar ruffle from a pattern I had and redrafted it to be 1 inch higher at the back, which I thought would be a small, but noticeable, change.
I thought the seersucker was light enough to allow me to have a doubled ruffle (i.e. no hemmed edges showing) but that may have been a slight miscalculation. Although the fabric itself is light, the texture of the weave gives it more bulk, so a single layer might have been a better choice. Live and learn.

More learning -- the pattern I borrowed the ruffle from had the ruffle continue around the curved edge of the collar stand. I found that a bit tricky to neatly distribute the gathers around the edge, and even after redoing it's not my best work. It's a cotton, everyday shirt though so I'll live with it. (shrug) When I do this again though I will either square off the top edge of the collar stand, or see how it looks with the ruffle started after the curve.


And yet more learning -- the higher the back is made the more it will tend to droop without reinforcement. This is one case when a stiffer fabric is needed. I'm fine with it, but I do wonder how interfacing it might have helped.

The sleeves were hemmed at 3/4 length, which is my preferred summer length. I didn't like the width of the lower edge though --I should have tapered them in a bit. Well, might as well try an after-the-fact taper, so I made four small darts around the sleeve opening. If I had made them a bit larger I think I would have gotten a nice lantern effect, but I was worried about making the opening too small, so...


All in all, it worked out to be a wearable everyday shirt. I learned a few things, and I got another small fabric cut out of the stash and into my closet. I'm calling it a win.


Tuesday, June 15, 2021

Time For a Trim

 Looking for a quick and easy project between sewing tops and putting off sewing together a machine knit cardigan, I decided to do a slight update to my Panama straw hat. It was fine the way it was, but I was in the mood for a small change.

I started out with this: 

The only change made to the purchased hat was an added beaded butterfly. The band around the hat was a simple leather strip. It was purchased from Goorin Bros. I've gotten a few hats from there; I like the fact that most of them are available in multiple sizes. 


I thought it might be nice to have a wider band, so I bought some lovely silk ribbon from Etsy seller SewVintagely. I went with 1" wide black ribbon, and because I wanted to do some manipulation I got three yards -- which turned out to be a fairly accurate guesstimate.

I used a technique I had done before on a sewing project which is known as a double shell ruffle. It's quite simple to do, and I think it gives a nice effect.

As long as I was doing this, I decided to change out the beaded butterfly for a different one. And here's what I ended up with:  


For anyone interested in how to do: a basting stitch (I do by hand but it could be done by machine) is run down the length of your trim in zigzag fashion, like this:


I marked the top edge of the ribbon with a chalk dot at 2" intervals. On the bottom edge I made the same mark at 2" intervals, but offset them by one inch so that they fell exactly between the top marks. You can use whatever measurement that suits your material -- the important thing is to have your basting at crisp right angles. 

Baste away, pulling the stitches every few inches so that you are gathering as you go. For the hat band I pulled them up fairly tightly. As I was sewing the ends together for a circular band I left them straight edged -- for using as a trim on a garment it would look nicer to miter the ends into a point when you've completed the gathering. 

As noted above, I had purchased 3 yards of ribbon and I ended up with 20" left over, so as you can see it does eat up a lot of ribbon/fabric. For reference, the length of finished trim needed (plus seam allowance to sew together was approximately 24".

I have used fabric for this too -- for trim on a voile cardigan I used a tube of the voile about 1.5" wide and basted exactly the same. I wouldn't try this on anything too heavy or stiff, but it worked beautifully on the silk ribbon and the voile.


Wednesday, June 9, 2021

June - already?

Well, May whizzed by without me documenting any projects.  Good thing I do this so I have a record of what I've done and not for any audience!

I got to the point where I felt I had enough basics sewn to get me through warmer weather, so then I decided to play a bit. 

When we lived in Houston, many moons ago, everyone had at least one "Mexican" dress. (Local terminology - I believe they are more properly known as Oaxacan dresses) They were (and probably still are) sold from vans along major routes in a virtual rainbow of colors, sizes and designs. Not especially finely crafted, they were a fun casual "just throw it on" look and a great pool coverup. My own were worn out (and truthfully, outgrown) long ago. So I decided to try my hand at one.

I used a pattern diagram from redpajamamama.wordpress.com (May 14, 2008 entry). I intended to make a full length dress, but messed up with the fabric requirement, so it became a top. (sad face) I decided to use a beefier cotton than what I remembered from the van dresses, and ordered some Kona cotton yardage. That was really nice as a background fabric for embroidery, but actually a less heavy fabric would have been better for wearing drape. Live and learn. I bought an embroidery pattern from Folkwear for the bodice and used it (sort of) for what I expected to be the front bodice. Oops, no - I placed it much lower than I wanted it so...that became the back bodice. I hadn't cut out the head hole, so that wasn't a problem. Then I decided I really didn't want that on the front even properly placed. I ended up taking some elements of the Folkwear embroidery pattern and adding some other random flowers and a couple of butterflies from a stencil I had. Somehow it came together and I ended up with -- 


Definitely not a work of art, but cheerful enough for a breezy summer top. I used regular 6-strand floss divided in half for the embroidered elements, and pearl cotton (size 5) for around the neckline, sleeves and lower bodice.

I wasn't really happy with the way the sleeves stuck out at a 90 degree angle, so took a small dart at the sleeve edge going to nothing at the top of the sleeve. It seemed to pull the angle of the sleeves down just enough to be tolerable and simply looks like a seam.  I'm thinking in a lighter weight cotton this might not have been an issue.

As for the back, with it's too low design --


My embroidery skills are embarrassingly primitive, but I'm OK with that for this type of garment. Basically it's satin stitch, outline stitch and chain stitch. I tried a feather stitch, but ummm, no. My appreciation for the artisans who do this on the regular is immense. 

As much as I'd like to have a full length dress for the summer I think this particular itch has been scratched. The amount of time that it would take for an inexperienced stitcher (i.e. me) to do this by hand for a full dress would be enormous. So, while I'm glad I tried it will be back to my regular sewing for my next projects. It would be fun to try small hand embroidered touches though -- a shirt pocket perhaps?